


La solution abordable pour les
Animations cartoon...

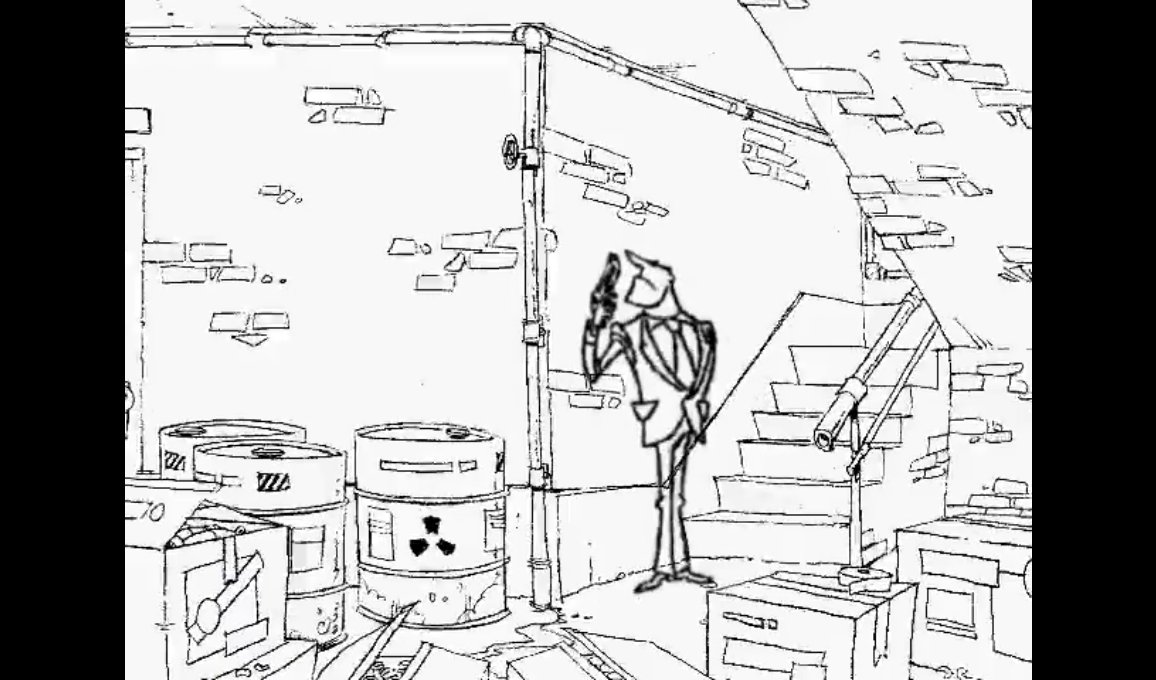
Galerie du CTP Pro
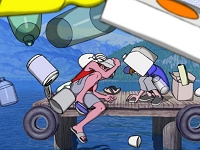
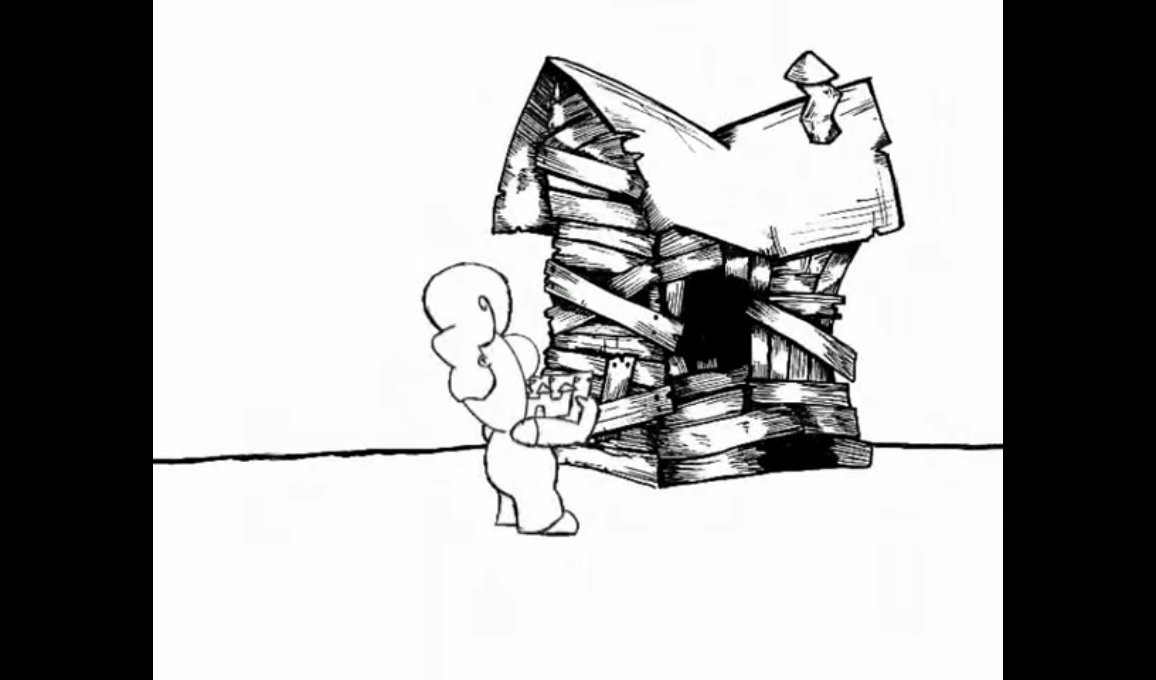
El monstruo del lago / The lake monster
Galerie du CTP Pro Animations
réalisées avec le CTP.
réalisées avec le CTP.
El monstruo del lago / The lake monster

Latest News

Un peu d'histoire: les différentes versions
Page en anglais seulement.
What was new in CTP Pro 1.4
Flash™
 CTP Pro 1.4 now lets you export film clips in Adobe's flash™ file format (sometimes called SWF, pronounced 'swiff'). The flash™ file format is currently the standard for delivering animation on the Web. Graphics viewed on the Web need to be as small in file size as possible in order to reduce the time it takes to download and view a Web page.
The Flash™ format saves graphics using vector data, simple coordinates and colors, using a very small amount of data. It also uses traditional bitmap data when appropriate. Since CTP Pro already saves the frames of an animation as a series of bitmapped images, version 1.4 now lets you assemble these images into a flash™ animation. The result is an .swf file that can be put on a website, and easily displayed on any Web browser.
To export a Flash™ file, do the following:
- In the File menu in CTP Pro, choose Export Frames.
- In the dialog that appears, click on the Format drop-down menu, and choose Flash™ Movie.
- Enter any other parameters for your file, for example the frames to be included in the clip and the name for the movie.
- Click ok. A second dialog will appear, named Flash™ Movie Compression. Here you can choose if you want to compress the file to minimize its file size. You can also select if you want the movie to loop continually when it is replayed. If you do want compression, you must choose a level for both the image quality and the sound quality.
Note: Moving the sliders to the left reduces compression, producing higher quality images and sound, but increasing the size of the resulting file. In the same idea, putting the compression to maximum will produce a very small file that will load quickly over the Internet, but will be of limited quality.
Once the Flash™ movie is displayed on a Web browser, such as Netscape Navigator or Internet Explorer, you can zoom into, or magnify the movie from a pop-up menu that appears when you right-click on the movie.
Examples:
 |
 |
 |
 |
(Click on the thumbnail to view the Flash™-Movie, Flash-PlugIn and JavaScript required.)
Special Effects and Filters
 CTP Pro 1.4 now includes new image special effects and filters. They can be accessed from the Image menu.
In order to use the effects, the user must select at least one image cell (a single image, or a painted or unpainted cell).
CTP Pro 1.4 now includes new image special effects and filters. They can be accessed from the Image menu.
In order to use the effects, the user must select at least one image cell (a single image, or a painted or unpainted cell).
Note: You can select more than one cell, and apply any kind of effect to them (except Unique Colors) but there is no Undo on a multiple cell operation.
Important: Some effects (Mosaic, Average Blur and Median Blur for example) work better on backgrounds or fully-colored images; applying those effects on line art will give strange results since the effect is applied on lines and color regions separately (line art layers and color art layers are treated separately and within the boundaries of the alpha channel/mask layer), not the whole rendered image.
Here is a description of each new effect:
Color > Invert
Inverts the colors in the selected image(s), like a photographic negative.
Color > Brightness
Changes the intensity (brightness) of the selected image(s). The intensity ranges from -1000 to 1000.
Color > Contrast
Increases or decreases the contrast of the selected image(s). Valid values are from -1000 to +1000.
Color > Hue
Changes the hue in the selected image(s) by rotating the color wheel.
Color > Saturation
Increases or decreases the saturation of colors in the selected image(s). Values are between -1000 and +1000.
Color > Stretch Intensity
Increases the contrast in an image by centering, maximizing, and proportionally increasing the range of intensity values.
Unlike the Contrast effect, this image effect always retains the original number of different intensity values. (Ordinary contrast adjustments can lose value at the high and low ends of the scale.)
Color > Gamma Correct
Adjusts the intensity of colors in the selected image(s) by changing the gamma constant that is used to map the intensity values.
Intensity values ideally follow a logarithmic progression, because the eye perceives changes in intensity as being equal when the ratio of change is equal. For example, we would see a change from 0.1 to 0.2 as being equal to a change from 0.2 to 0.4. Gamma is a standard constant that is used to calculate the progression. For most computer monitors the gamma constant is in the range of 2.2 to 2.5.
Color > Intensity Detect
Filters the selected image(s) to detect colors in a specified intensity range. Intensity levels range from 0 to 255 for each color plane (red, green, and blue). This image effect processes each plane separately. If a value falls within the range, it is raised to 255, and if it falls outside the range, it is lowered to 0.
Color >HistoContrast
Increases or decreases the contrast of the selected image(s), using a histogram to determine the median brightness.
Valid values are -1000 to +1000.
This image effect finds the median brightness of the image; then brightens the pixels that have values above the median and darkens the pixels that have values below the median.
Color > Solarize
Applies an effect that mimics the accidental exposure of photographic film to light. It does so by inverting all color data with an intensity value greater than or equal to the threshold that you specify.
The valid range is 0-255.
Color > Unique Colors
Gets the number of unique colors in an image. This image effect treats line art and color art planes separately (the function will return two different values for drawing cells).
Note: This image effect CANNOT be applied to a multiple cell selection.
Flip
Flips the selected image(s) from top to bottom.
Reverse
Reverses the selected image(s) left to right to produce a mirror image.
Effects > Posterize
Imposes a poster effect on the selected image(s) by reducing the number of colors in the image(s) to a specified number of color levels per plane. For example, two levels means two of red, two of green, and two of blue.
The user specifies the number of color levels to use. Valid values are 2 through 64.
Effects > Mosaic
Imposes a mosaic effect by dividing the selected image(s) into tiles of a specified size and changing the color of all pixels in each tile to the average color of the pixels within the tile.
Note: The effect is applied within the image's alpha channel (i.e. mask layer), which may give strange results on line art layers. We suggest that you try with different images, or combine bitmap layers first, and then apply the image effect on the result bitmap.
Effects > Average
Changes the color of each pixel in the selected image(s) to the average color of all the other pixels around it. This results in a blur effect.
Note: The effect is applied within the image's alpha channel (i.e. mask layer), which may give strange results on line art layers. We suggest that you try with different images, or combine bitmap layers first, and then apply the image effect on the resulting image(s).
Effects > Median
Changes the color of each pixel in the selected image(s) to the median color of all the other pixels around it. This is similar to the Average image effect, but it is used for noise reduction rather than a blur effect.
Note: The effect is applied within the image's alpha channel (i.e. mask layer), which may give strange results on line art layers. We suggest that you try with different images, or combine bitmap layers first, and then apply the image effect on the resulting image(s).
Effects > Sharpen
Increases or decreases the sharpness of the image in the selected image(s).
Valid values range from -1000 to +1000.
Negative values decrease the sharpness of the image. Specify -1000 for minimum sharpness. Positive values increase the sharpness. Specify +1000 for maximum sharpness.
Effects > Add Noise
Adds random pixels to the selected image(s), letting you specify the percentage of coverage and the color plane. You choose the percentage of coverage. It is expressed in tenths of a percent. Valid values are 0 to 1000.
Effects > Emboss
Applies a three-dimensional embossing effect to the selected image(s), letting you specify the depth and direction of the effect.
Effects > Edge Enhance
Detects and brightens edges in the selected image(s). This effect might be used to outline edges of a drawing, to mimic a pencil drawn line.
Effects > Oilify
Creates an effect of broad brush strokes on the selected image(s), to look like an oil painting on a canvas.
Spatial Filters > Gradient
A spatial filter recomputes the brightness of each pixel in the selected image(s) by using a weighted averaging technique that considers the surrounding pixels.
The Gradient filter detects edges using a Gradient directional filter. All pixels that are not on the detected edges are changed to black.
Spatial Filters > Laplacian
A spatial filter recomputes the brightness of each pixel in a bitmap by using a weighted averaging technique that considers the surrounding pixels.
The Laplacian filter applies Laplacian line detection. There are three omnidirectional filters and thee bi-directional ones. All pixels not on the detected lines are changed to black.
Spatial Filters > Sobel
A spatial filter recomputes the brightness of each pixel in a bitmap by using a weighted averaging technique that considers the surrounding pixels.
This filter applies Sobel edge detection. All pixels not on the detected edges are changed to black. The usage is the same as the Prewitt image effect, but the algorithm (mathematics used to compute the effect) is different.
Spatial Filters > Prewitt
A spatial filter recomputes the brightness of each pixel in a bitmap by using a weighted averaging technique that considers the surrounding pixels.
This filter applies Prewitt edge detection. All pixels not on the detected edges are changed to black. The usage is the same as the Sobel image effect, but the algorithm (mathematics used to compute the effect) is different.
Spatial Filters > Shift and Difference
A spatial filter recomputes the brightness of each pixel in a bitmap by using a weighted averaging technique that considers the surrounding pixels.
This effect applies shift-and-difference edge detection. All pixels not on the detected edges are changed to black.
Spatial Filters > Line Segment
A spatial filter recomputes the brightness of each pixel in a bitmap by using a weighted averaging technique that considers the surrounding pixels.
This effect applies line segment line detection. You can use this filter to find line discontinuities in an image. All pixels not on the detected line segments are changed to black.
Latest News
INFO PRODUIT
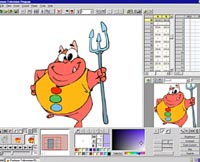
Qu'est-ce que c'est?
Comment le CTP Pro fonctionne?
Functions & Requirements
Comparaison entre les différentes versions
Un peu d'histoire: les différentes versions
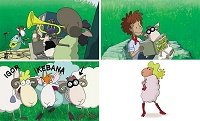
GALERIE DU CTP
Animations réalisées avec CTP
CTP SHOWROOM
Nouvel extrait sur YouTube
Qu'est-ce que c'est?
Comment le CTP Pro fonctionne?
Functions & Requirements
Comparaison entre les différentes versions
Un peu d'histoire: les différentes versions
GALERIE DU CTP
Animations réalisées avec CTP
CTP SHOWROOM
Nouvel extrait sur YouTube
AIDE
Vidéo de démonstration
Tips & Tricks
Frequently Asked Questions (FAQ)
Documentation
TÉLÉCHARGEMENT
Demo version and sample scenes
ACHETER CTP
Acheter CTP online
Vidéo de démonstration
Tips & Tricks
Frequently Asked Questions (FAQ)
Documentation
TÉLÉCHARGEMENT
Demo version and sample scenes
ACHETER CTP
Acheter CTP online
CONTACT
Pour nous contacter
Formulaire de contact
Imprint
Remarque sur la confidentialité
NEWS
Latest news
Follow us
CTP on our social media channels


Pour nous contacter
Formulaire de contact
Imprint
Remarque sur la confidentialité
NEWS
Latest news
Follow us
CTP on our social media channels
Copyright © 2000-2024 Digital Broadcast Systems GmbH